Showing posts with label white. Show all posts

Friday, February 20, 2015

Nails of the week: Joker Style

Hey there, 
So these are my nails for the week...joker style!
 
 
My mama bought me some cute nail polishes for xmas and I finally got around to using one!
 
 
 How cute are these red lips lol!!!
 
Anyways, posted below are the items I used to create the look!
 

From Left to right... I ♥ nail art striper in white (210), nail file lol, I ♥ nail art pen in black (410), Sinfulcolors professional in black on black (103), Strengthening Nail polish remover by studio 35 beauty, Markings nail polish in red, and Extra Life No Chip Top Coat by Revlon (will only use this because it is amazing!!!!)
 
Hope you feel inspired to create your own nail art!
Thanks for stopping by!
♥Crystal
 

Tuesday, September 16, 2014

Football Season: Denver Broncos Nail Design

Hey there,

So last night I had a little bit of time, oh I would say approximately 30 minutes, and I decided that I would change my nail color. What better way to get into the spirit of American Football than a gal with her nails done with colors from her favorite team! So, that's what I did. And my favorite team so happens to be the Denver Broncos who are on a winning streak so far this season (2-0) whoohooo!!!!


Lol but for those who have another football team as their fav, no worries this tutorial works well with any set of colors!

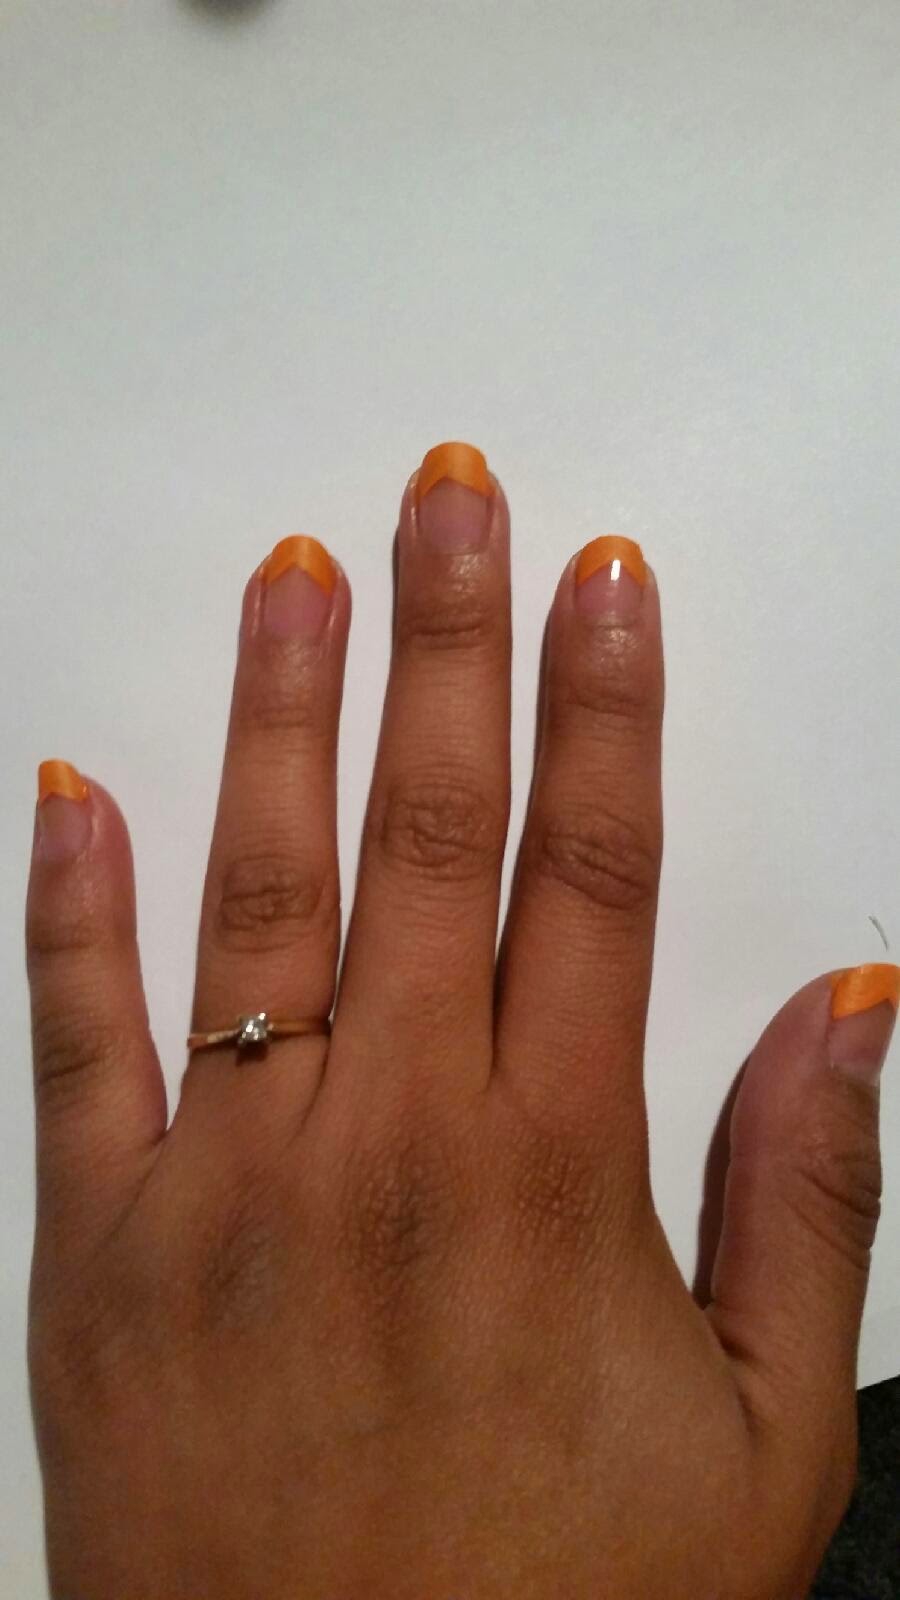
Chevron Nail Design: Denver Broncos

  •  First things first, take off any left over nail polish on your nails. Make sure to wash your hands also with soap and water to get off any left over oils. Also, make sure that your nail shape is the way you want it before you begin designing (or else things can get messy 0.0 and nobody wants that)!
  • Secondly, pick your colors. In this case I chose orange, blue, white, and black.
  • I usually only focus on one hand at a time. So since I am right handed I start my designs on the left hand and placed a clear coat of nail polish from SinfulColors. I have been using these acrylic paints from Walmart for my design versus just polish because it gives a nice matte look, although regular nail polish works just fine. 
  • Next up, start by making an orange chevron look. All you do is move your brush at an angle towards the center of your nail making a triangle and repeat this on the other side of the nail.

  • Use this same angle technique to create the blue color design over the orange. This may take a few coats depending on how solid your blue nail polish is. Don't get discouraged! Keep pushing forward. 

  • Okay you have this angle thing down now right? Well take a small brush and lightly create a thin line with the white color above the orange. If this turns out to be too difficult, do the angle technique with the white color first before the orange.
  • In this tutorial I also created some small dots to give it a little flair :) but totally unnecessary unless you are into it lol then dot away.
    • Side note: I lost my dotter tool, but I highly recommend using one.
  • Make sure to buy a real good top coat. This way your design can go on being noticed for at least 1week and a 1/2.


I hope you enjoyed this nail tutorial. Let me know if you want to see anything specific in the comments :)

<3 Crystal

Friday, May 9, 2014

Nail Design: Polka Dots w/White Waves


Polka Dots and White Waves
By:Crystal Lobato

Hey there,

So last night I created one of my many nail designs for the summer and I am here to share it with you! I love doing different nail designs. I am a student constantly writing things down and looking at my hands, so when there is a chip on my polished nail or a crack I immediately know it's there and have to fix it.

Before, I used to consistently go get my nails done...you know go to the salon and let someone else takeover the beautifying in my life. Well needless to say I got tired of spending so much money on something I could do myself. I'm glad that I switched. I set aside about 15 to 20 minutes every one or two weeks (depending on how well the polish holds up) to create a new design. I love to create new things so by designing my nails it gave me an outlet and stress relief from my mentally challenging life of crunching numbers and problem solving.

Well here we go!


  1. Clean your nails off with cotton and some nail polish remover. Polish remover with acetone work best. If you have fake nails on though don't use acetone. It will dissolve the nail. 
  2. Put on the first coat of pink. I used Sinful Colors Nail polish. Then let dry and Put on a second coat to ensure a full consistent color on the nail. 
  3. Focus on one hand at a time. 

  4. So by using the dotter tool I began making dots from the top left of the nail (looking at my hand palm down away from my body) and created a swirl from corner to corner. 
  5. Fill in half of the nail with larger and medium sized dots. Let them dry.
  6. Next use a striper polish like Stripe Rite in white made by Its So Easy (you can get it at Sally's Beauty Supply) to create the wavy curved lines. 
  7. Follow the wavy line you created with the dots. 
  8. What I love about Srltripe Rite is that if you make a mistake you can use a drop of water to rub it off. It took me awhile to make the lines the way I liked them. So never fear messing up...just rub it away and begin again!
  9. When all is done...use an expensive too coat to seal your design. Don't forget this step or you will find yourself washing dishes and your design and hard work has disappeared.  

  10. Switch to your other hand and repeat. My right hand never looks as good as my left (because I'm right handed) but it's all good. Enjoy. Let me know how it turns out :)