Showing posts with label Design. Show all posts

Tuesday, March 3, 2015

Tux Glam

Hey gals,
Here is my new nail design for the week!
I bought some new makeup items from Ulta and as a free gift I recieved a nail polish made by Ulta called Peach Parfait. It is the cutest color. It is perfect for a simple dash of color all on it's own.

Well instead of the simple peachy look, I added a little more excitement with a chevron tip in black and white and some dots that originate from the center of the nail and curve around the nail! Hope you enjoy!

I used: Peach Parfait by Ulta for the base color, black on black (103), I love nail art striper in white (210), and Revlon's Extra Life No chip Top Coat (950). I also used a dotter tool for the dots!

Have an amazing day :)
♡ Crystal

Tuesday, December 9, 2014

Christmas fun design

Hey there,
Thought I would start posting my Christmas nail designs. Planning on changing them again this week. So stay tuned for another design :) These were done with a wine purple and an I love nail art pen in white :) Simple and fun. Get in the holiday spirit!

♡Crystal

Saturday, November 15, 2014

Winter Wonderland Nails

Hey there,
So yeaterday I had a little bit of time and I created this beautiful winter wonderland themed nail design. Enjoy!

I used these items in order:
▪Rise and Shine by Sinful Colors as the base color
▪Heartbreaker by Pure Ice on top of the base to give it a more shimmery look
▪Pearly Whites by Sally Hansen on the pointer and rind fingers
▪White by I love Nail Art Striper to create the snowflake and stripes
▪I used a dotter tool to create the dots look

Tuesday, September 16, 2014

Football Season: Denver Broncos Nail Design

Hey there,

So last night I had a little bit of time, oh I would say approximately 30 minutes, and I decided that I would change my nail color. What better way to get into the spirit of American Football than a gal with her nails done with colors from her favorite team! So, that's what I did. And my favorite team so happens to be the Denver Broncos who are on a winning streak so far this season (2-0) whoohooo!!!!


Lol but for those who have another football team as their fav, no worries this tutorial works well with any set of colors!

Chevron Nail Design: Denver Broncos

  •  First things first, take off any left over nail polish on your nails. Make sure to wash your hands also with soap and water to get off any left over oils. Also, make sure that your nail shape is the way you want it before you begin designing (or else things can get messy 0.0 and nobody wants that)!
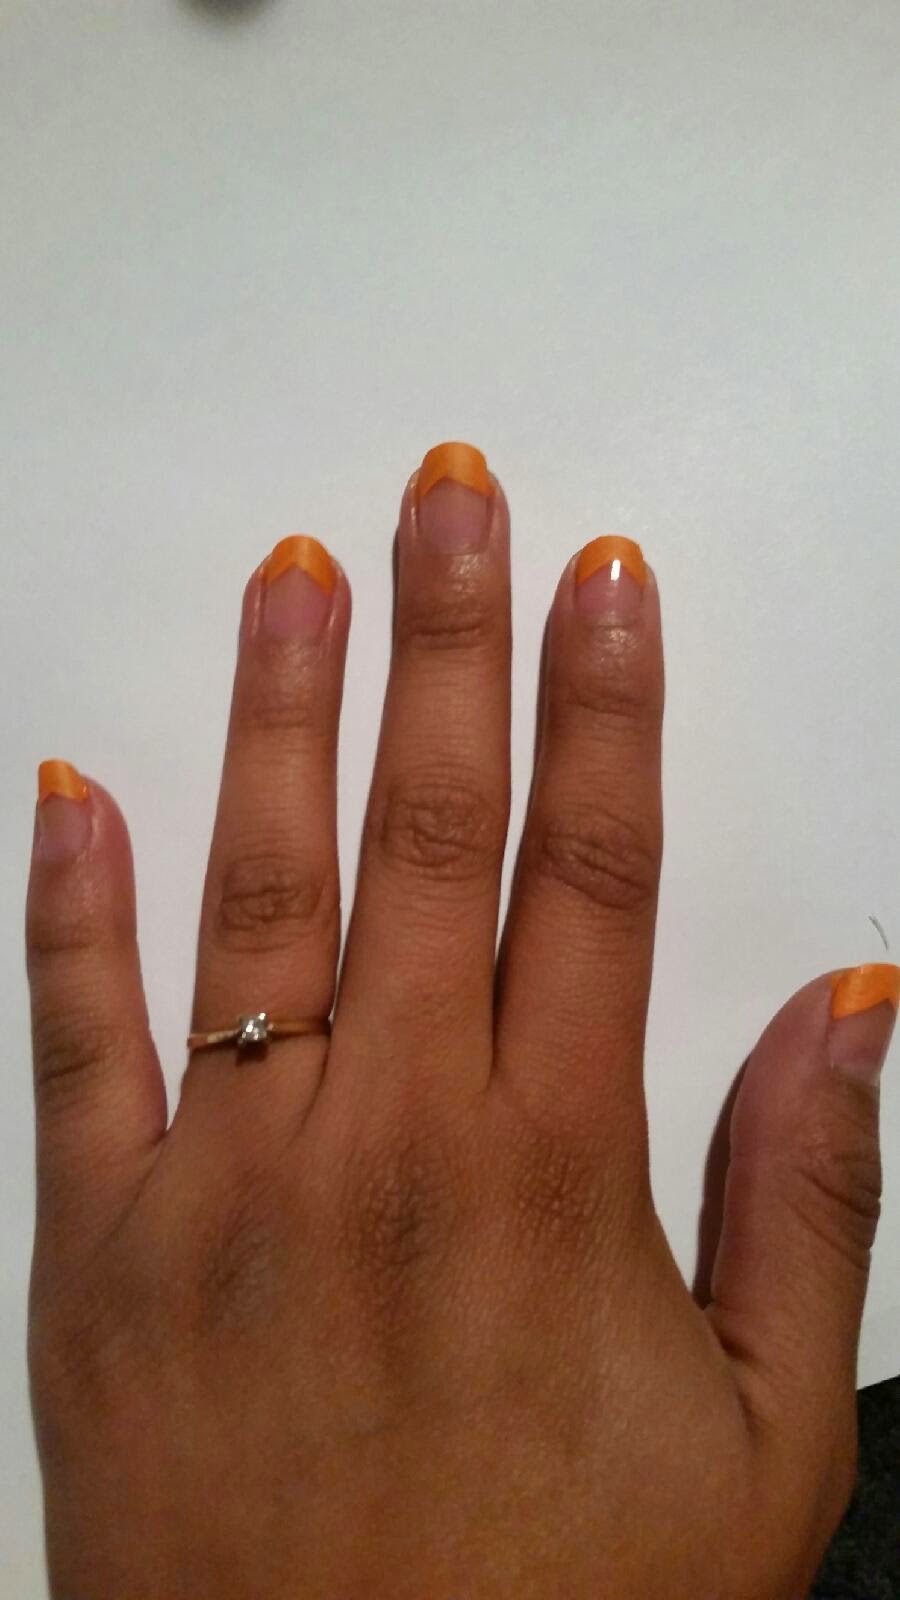
  • Secondly, pick your colors. In this case I chose orange, blue, white, and black.
  • I usually only focus on one hand at a time. So since I am right handed I start my designs on the left hand and placed a clear coat of nail polish from SinfulColors. I have been using these acrylic paints from Walmart for my design versus just polish because it gives a nice matte look, although regular nail polish works just fine. 
  • Next up, start by making an orange chevron look. All you do is move your brush at an angle towards the center of your nail making a triangle and repeat this on the other side of the nail.

  • Use this same angle technique to create the blue color design over the orange. This may take a few coats depending on how solid your blue nail polish is. Don't get discouraged! Keep pushing forward. 

  • Okay you have this angle thing down now right? Well take a small brush and lightly create a thin line with the white color above the orange. If this turns out to be too difficult, do the angle technique with the white color first before the orange.
  • In this tutorial I also created some small dots to give it a little flair :) but totally unnecessary unless you are into it lol then dot away.
    • Side note: I lost my dotter tool, but I highly recommend using one.
  • Make sure to buy a real good top coat. This way your design can go on being noticed for at least 1week and a 1/2.


I hope you enjoyed this nail tutorial. Let me know if you want to see anything specific in the comments :)

<3 Crystal

Thursday, May 15, 2014

Nail Design: Fun and Bold

Hey all,
So yesterday my Mother-in-law surprised me with about 6 different colors of nail polishes (She knows I love to do my own nails). It was such an excellent surprise and just in time to change up my nail design. I ended up having some extra time before work today and contemplated on the design I was going to use. No lie I redid them like 3 times. I wanted to use every color haha but only ended up using 4. White, pink, turquoise,  and a beautiful, darkish purple wine color. Anywho below is the tutorial for this design. Thanks for reading and don't forget to follow me on Google+ so you don't miss any new designs.

P.S I totally ruined my nail design when I got to work trying to unload boxes haha so you should be seeing a new design in the very near future :)


  1. Begin by cleaning your previous nail polish off your nails. Use some cotton balls and some nail polish remover with Acetone for natural nails and polish remover without Acetone for artificial nails. Trust me on this. 
  2. Begin with the base color. For this design I used a white polish and put on two coats. Let your nail completely dry before applying the second coat of polish. This will ensure a smooth surface without rigid lines and bumps. 
  3. Pick your first fun color for the dots portion, I used pink and turquoise for my two colors and chose to start with the pink polish first. I placed a small drop of polish on a piece of paper and used my dotter tool to somewhat align my curved design from one corner to the opposite in diagonal, corner of the nail. I repeated this for each nail on my left hand( I'm right handed so my left hand is usually my most comfortable place to start). Make sure to space out the dots. Leave extra space in random places for the second fun dot color. 
  4. Repeat the above steps with the second dot color. You should now have a beautiful design. I actually almost stopped here but quickly realized I could't handle having all that white space so I continued on. 
  5. I used the darkish-purple wine color to make a swoop curve in the empty space for a bold design. I began the swoop with the corner closest to me and slowly created the curve out towards the end of the nail. 
  6. Great job on your design. Don't forget to add a strong top coat to your nails ensuring a longer  "design life" and clean off any excess polish from your hands with some polish remover and a Q-tip.
  7. Thanks for reading and enjoy your amazing work.
Until Next Time,
CL <3